How do you make patchwork? 3 simple steps
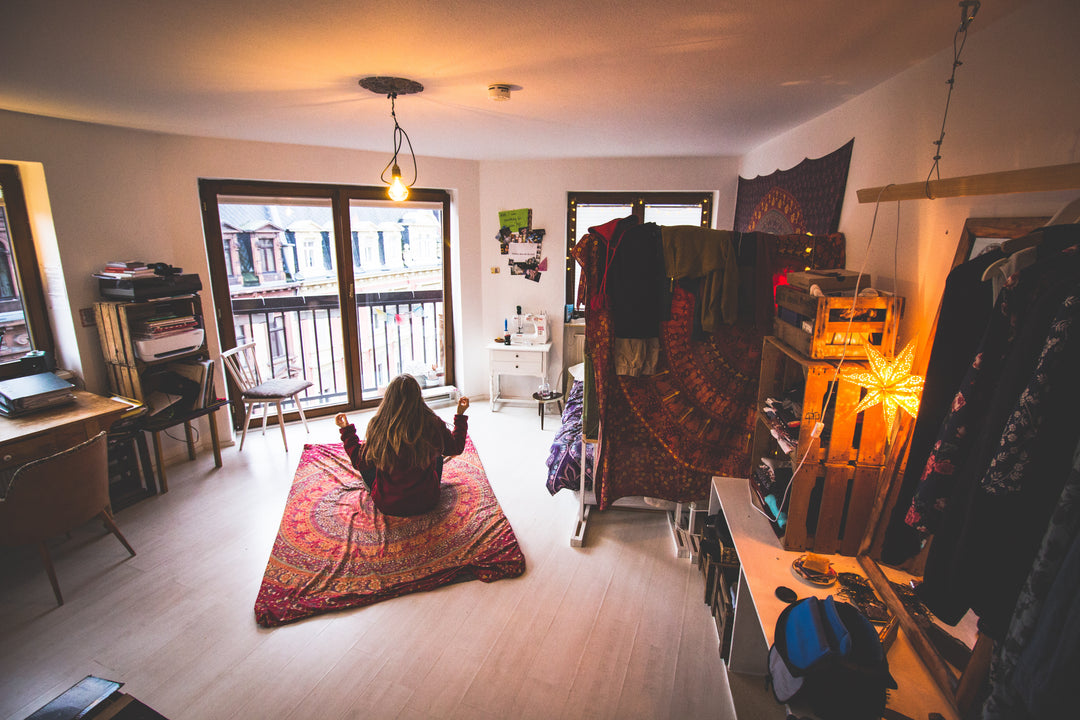
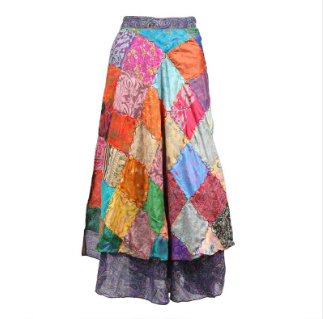
As you can likely tell, patchwork is one of our favourite styles of needlework – you’ll find it featured all over our site on bags, hats, skirts and dungarees. The simple yet intricate nature of the method gives the clothing a charming personality and helps it to tell a story. We love the idea of different fabrics coming together to create a wholly new piece. We especially love patchwork items that have been made from reused fabric, such as this up-cycled sari wrap skirt.
Method
Although the method of creating patchwork is fairly straight forward, there is lots of patience and skill required to make a beautiful job of it. We have condensed this down into 3 easy to follow steps to help you create your own patchwork masterpiece.
What you’ll need:
- A selection of fabrics (bonus points for using second hand fabric)
- Transparent ruler
- A cutting mat
- Rotary knife
- Sharp scissors
- Lots of pins and safety pins
- A needle and thread or sewing machine
Step 1: Cutting your fabrics
We personally think the more fabrics you can source, the more unique your patchwork piece will be. Forget throwing out your old clothes that no longer fit you, as these make some of the best fabric cuts! Alternatively, many fabric shops often give away or sell left over patches of fabric for cheap to be up-cycled. There are no rules with patchwork, feel free to mix colours, bold prints, small prints, floral, and contrasting materials – go to town!
The key to producing a successful piece of patchwork lies within the cutting. In order to be able to sew the patches together with ease, each patch must be the same height. The easiest way to ensure this is to use a rotary cutter and a cutting mat. Fold your fabric and hold it down tight to the mat, ensuring there are no creases, and use the ruler to measure what size you’d like your fabric sample to be. Glide the rotary cutter along the side of the ruler to cut with a smooth, straight finish. This may seem fiddly at first, but with patience and practise you’ll become a pro and will be able to cut multiple pieces of fabric at once!
Step 2: Sewing your fabrics together
Now you have your patches, it’s time to sew these together. This can either be done using a sewing machine or by hand. When using a sewing machine, a needle size width of 80 is appropriate, with a stitch width of roughly 2.5. Whether your using a machine or doing it by hand, place one piece on top of another right side down and pin the seams together. Begin stitching them across the right top edge, continuing this process until all patches are complete.
Although many people opt for an inside seam stitch as explained, feel free to experiment stitching overlapping pieces on top, using different stitch types, and contrasting thread colours for a really unique piece!
Step 3: Embroidery
This step isn’t compulsory however we love the outcome of this added extra. Embroidery allows you to make your patchwork piece as intricate and unique as you wish! Adding an embroidered pattern can be accomplished by machine or by hand, in any colour or design you desire. To get even more creative, experiment with adding embroidered sequins or beads.
So there you have it - creating patchwork in 3 simple steps! You may want to create a patchwork design to stitch to an existing item of clothing, a cushion cover, or a bag, or you may want to entirely create your own! Whatever you choose to produce, we're sure it'll look amazing!
Shop our range of patchwork clothing, homeware and bags here